The Once and Future (tur)King
2023-11-23

The Long Boring Part Before the Recipe
Thanksgiving dinner is my favorite thing to cook every year. It really only got big for me when I was 19, my group of friends ended up starting a friendsgiving a tradition that has so far lasted for 15 years. It’s been my favorite day of the year every year and as I’ve grown up and started my own family I’ve carried that love for that event over to the holiday proper.
Now as a total aside, I’ve long held that when dealing with software for a living wears a hole into your soul. Building intangible, completely logical constructs out of text is pretty neat, but I can’t touch my stupid website. I can’t play catch with the dumb Godot dice game I poorly made. I yearn for the physical, to see the product of my own hands’ labor. I’ve never been much good at building things, even in the software world where I have more experience, so I instead turn to cooking.
Cooking is great skill to pour yourself into because, as a wise philosopher once said, ya gotta eat. Like…three times a day usually. If you plan ahead and have some spare time you can turn that into a lot of practice. It can teach you a lot of other skills, like chemistry and organization. It’s incredible to feel your body learn the way to dice an onion more and more comfortably over time. Cooking taught me to respect the tools in my toolbox and take care of them, but to also not get overly precious about which ones I keep. They are tools after all, not objects d’art.
Over the many years of gatherings I’ve been a party to the cooking of many a fowl, and in 2020 I picked up barbeque as a hobby. I learned on my 22" Weber kettle, which has slowly been modified into a counter height machine with extra cleaning and safety features. It comes with me to many a cookout in a variety of locations for ribs or pulled pork, but most famously this a machine that roasts birds. I have dedicated a non-neglible fraction of my life to the roasting of turkeys, and the result is, to be modest, positively sublime. This is a turkey breast that, when microwaved the next day for leftovers, is still moist and tender. For the past three Thanksgivings I have forgotten to make gravy from scratch and had to use packets and it didn’t even matter, it was not needed. Some have even referred to my smoked turkey as their personal Roman Empire.
This is all to say: I love making this dish. Over many years of cooking many different fowl many different ways, this is my favorite one. Yes, there are personal reasons why I’m attached to turkey. Yes, this is tuned speciically to the needs of me and my small cooker. I could be writing this to an audience of people who know what they’re doing. But they don’t need this.
I do. I forget shit all the time. This is for me. I need to write another one of these for the stuffing so I remember how to make it year to year.

The Actual Recipe Part
Theory
Space is limited in my 22" kettle and the heat is all going to be coming from one direction. This means we will need to butcher the turkey so that we can both fit into the kettle and also protect it from the more direct heat. With a 22" kettle grill you’re probably only going to be able to fit a 12 to 14 pound turkey, even if butchered and positioned well. You do not want to cram this into the grill, it will only make the finished producct that much worse for lack of smoke and glaze.
We’re also going to need to get smoke to adhere to the turkey and make bark. With poultry, a little smoke goes a long way because the skin can get really weird and leathery if you get too much bark. It’s better to apply a seasoning with smoked paprika to help visually bring out the redness of smoke but also bring extra smoky flavor. We’ll apply this rub overnight so that it has time to penetrate the meat and really improve the flavor.
Poultry also tends to dry out, so we’re going to give it some help by giving it a glaze. This well also just make it nice and savory and sweet and unctuous, it’s just good all around.
To avoid further drying, we’re going to cook this bird relatively hot. 350-375F the whole time, keeping things relatively close to typical oven temps. Going too much lower will give the meat a little too much time to dry out, instead we want to cook evenly and relatively quckly. The easy way to achieve this with a kettle grill is to use one whole chimney of lit lump charcoal far off on the back side of the grill. I also have a Slow-N-Sear that I swear by to keep coals safely in one area of the grill. If you’re clever with steel or tin foil you can make something similar yourself.
We’re going to use a thermometer to test doneness and check grill temp. This is honestly the most optional, but also the most Big “E” Easy Mode way to do things. If you have a cheap $30 one that uses two probes, that’s perfect. One probe should be in the grill about an inch or two away from any meat and the other should be in the coldest part of the breast. You should get it pretty deep and then move it around to figure out where the coldest part is.
Butchery
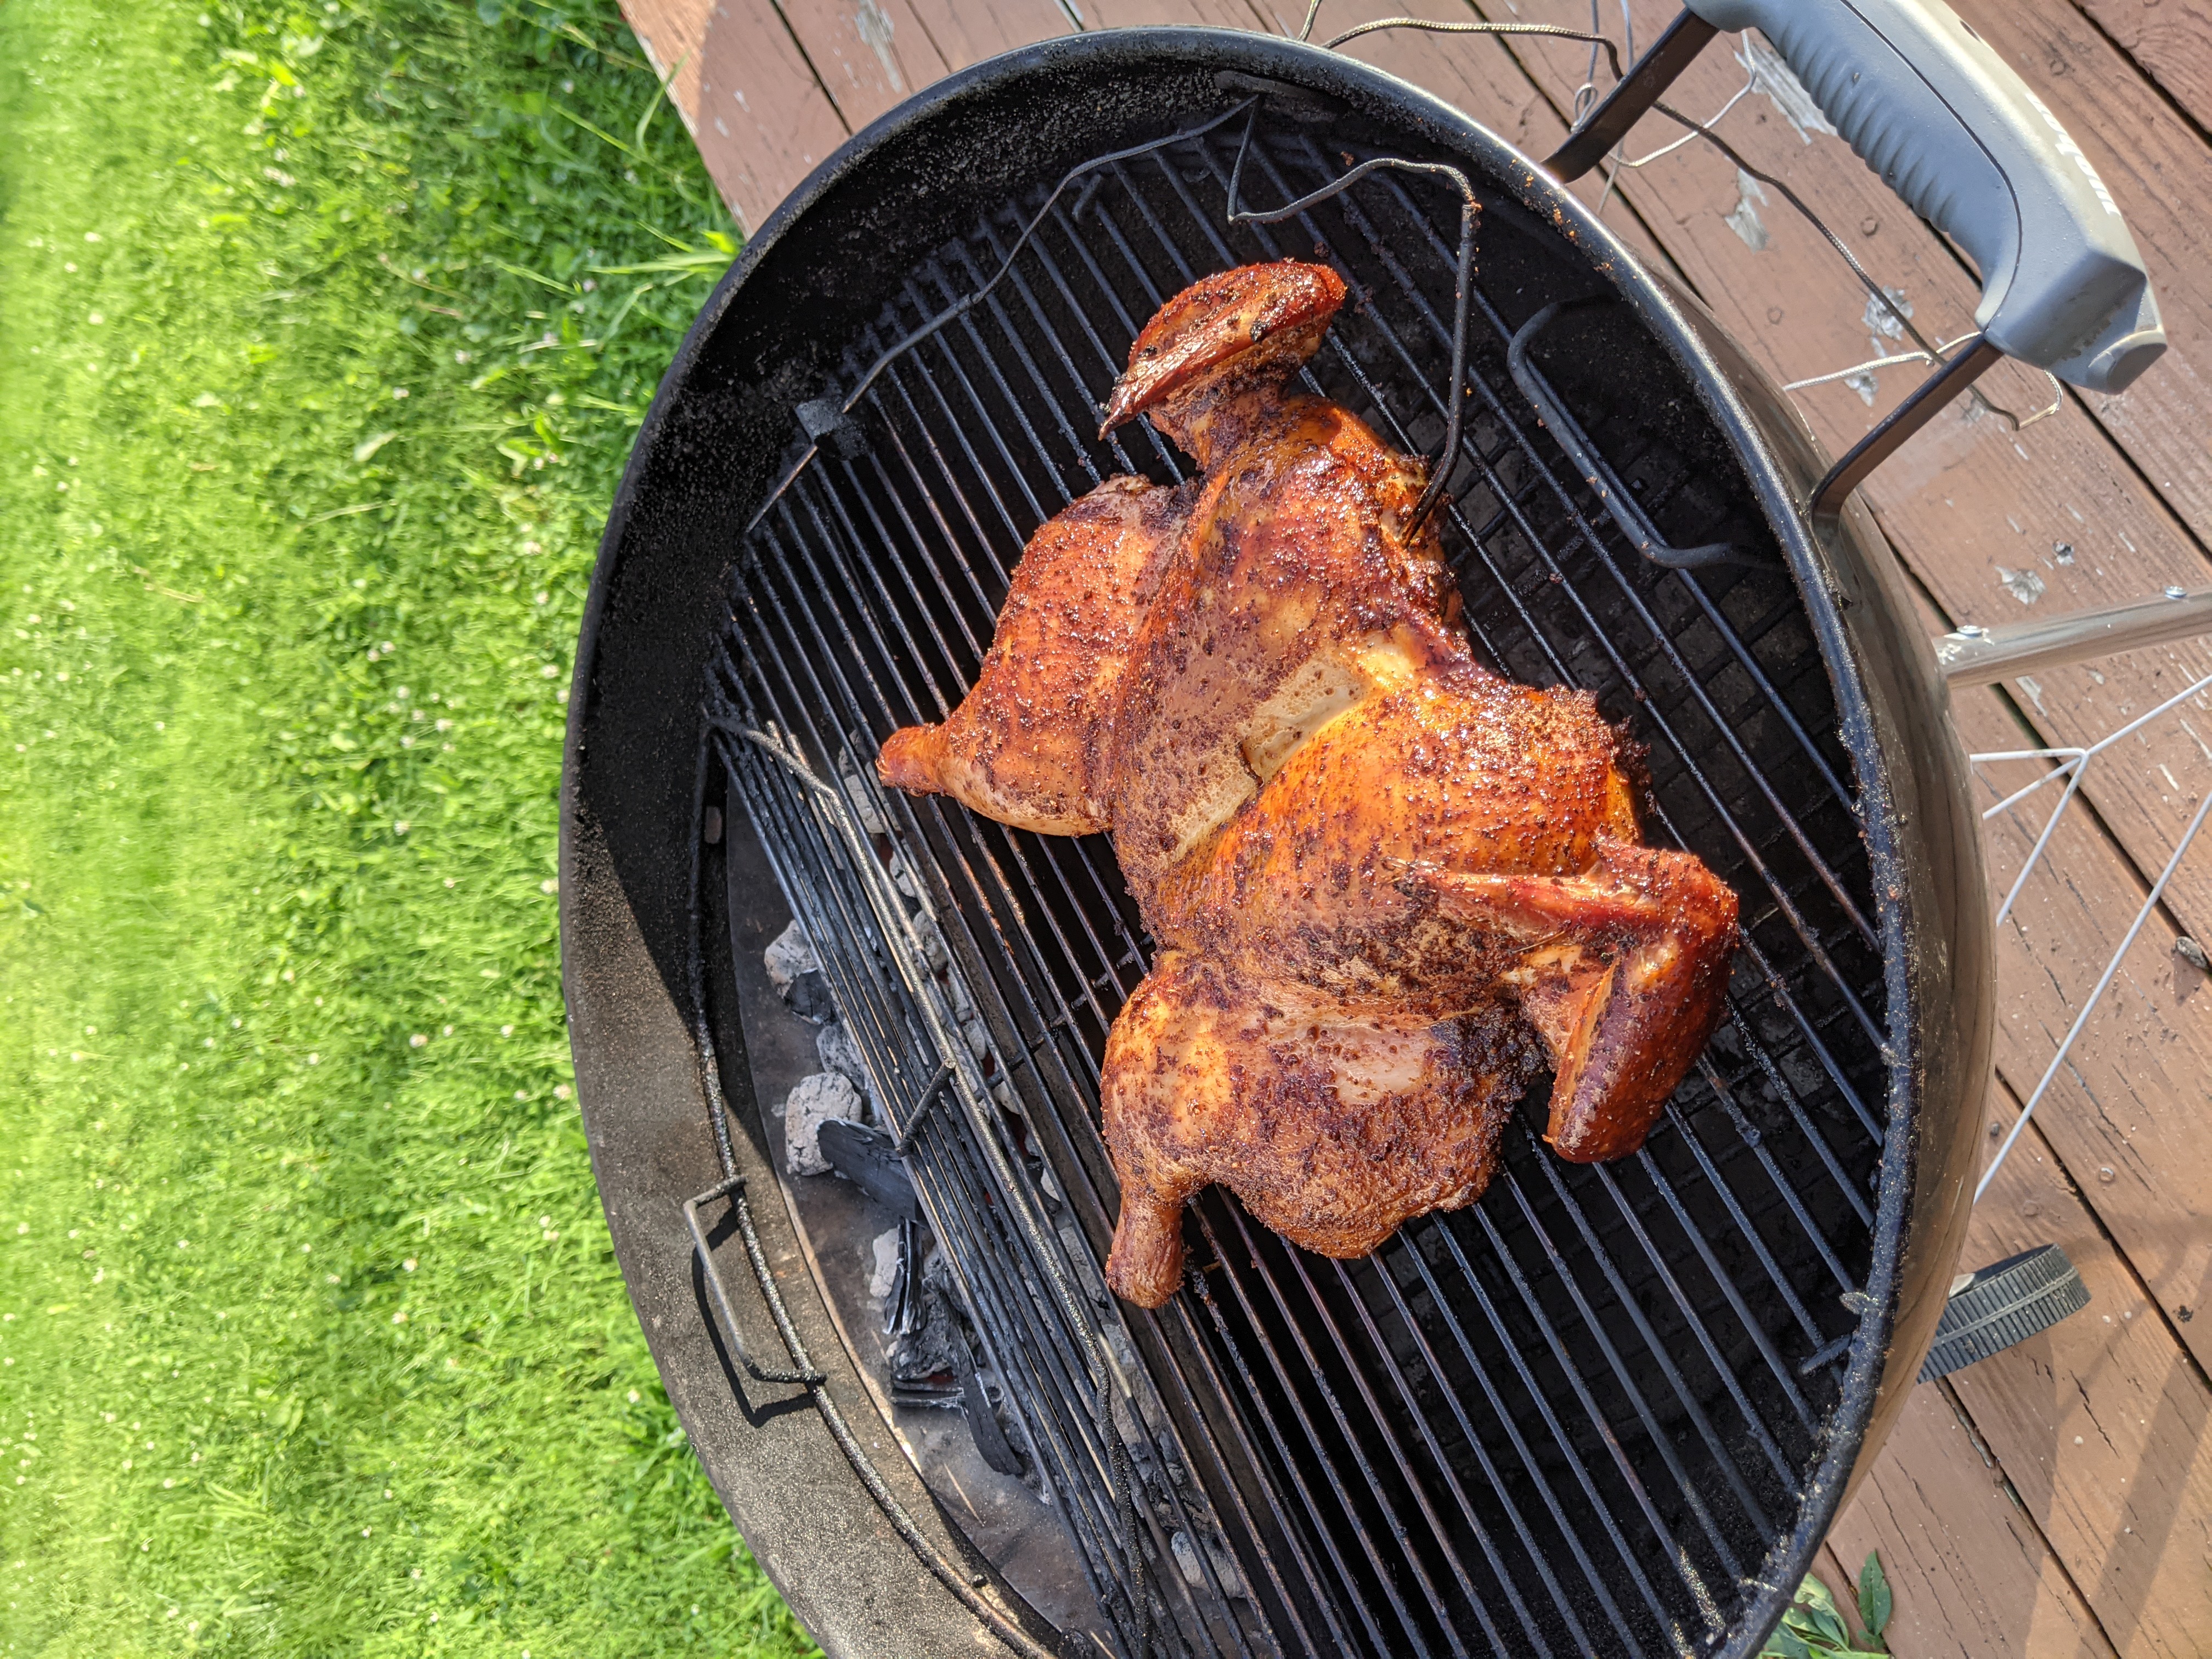
We’re going to spatchcock the turkey by taking a sharp, sturdy knife and running it along either side of the spine. and then cut off the leg quarters. I prefer to trim off the wings as well, they can just go right in with the neck and spine for making gravy. I also take the time to trim off excess rib bones, just to make things a little nicer.
Rub
- 4 Tbsp fresh ground black pepper
- 2 Tbsp garlic powder
- 2 Tbsp onion powder
- 1 Tbsp smoked paprika
- 1/4 cup kosher salt
Shake this up to an even mix. Before spreading it onto your turkey, pat the meat dry. I like to do each leg quarter and then the breast last. Do not feel tempted to use the whole batch of rub. The more rub that’s on any spot the more bark it will develop. I think that gets really overwhelming really fast and want the glaze to carry most of our external flavor anyway. You’ll see areas, especailly on the breast, where too much rub was applied.
Glaze
- 4-6 cloves garlic, lightly crushed but still together
- peel from one orange
- 1/3 cup light brown sugar
- 1/3 cup soy sauce
- 1/3 cup apple cider vinegar
- 1/3 cup and 1 Tbsp neutral oil (I like peanut)
Put all the ingredients in a pot and reduce it until it becomes just a little thicker and the house smells insanely good. I like to store this in a one pint mason jar for easy of shaking with the peel and garlic still in there as agitators to help the oil to mix back in after separating.
Praxis
Light the chimney.1 I use a couple straw firestarters and take one or two strands from one and put it on the top of hte chimney. When they catch, the chimney is ready to dump. You don’t necessarily want all the coals lit at once, that could cause temps to spike pretty quickly, so having this extra fuel as a cushion and to even out our cooking is nice.
Once the chimney is dumped, position your grate and let it get up to temp. Right around 300F I like to throw on a large handful of applewood chunks, this will be the only wood we apply to our fire today, the rest of the smoke will come naturally from the charcoal, which is why it’s imporant to buy quality lump charcoal so that it doesn’t sputter, pop or give off nasty smoke. I like Royal Oak, it’s cheap and clean.
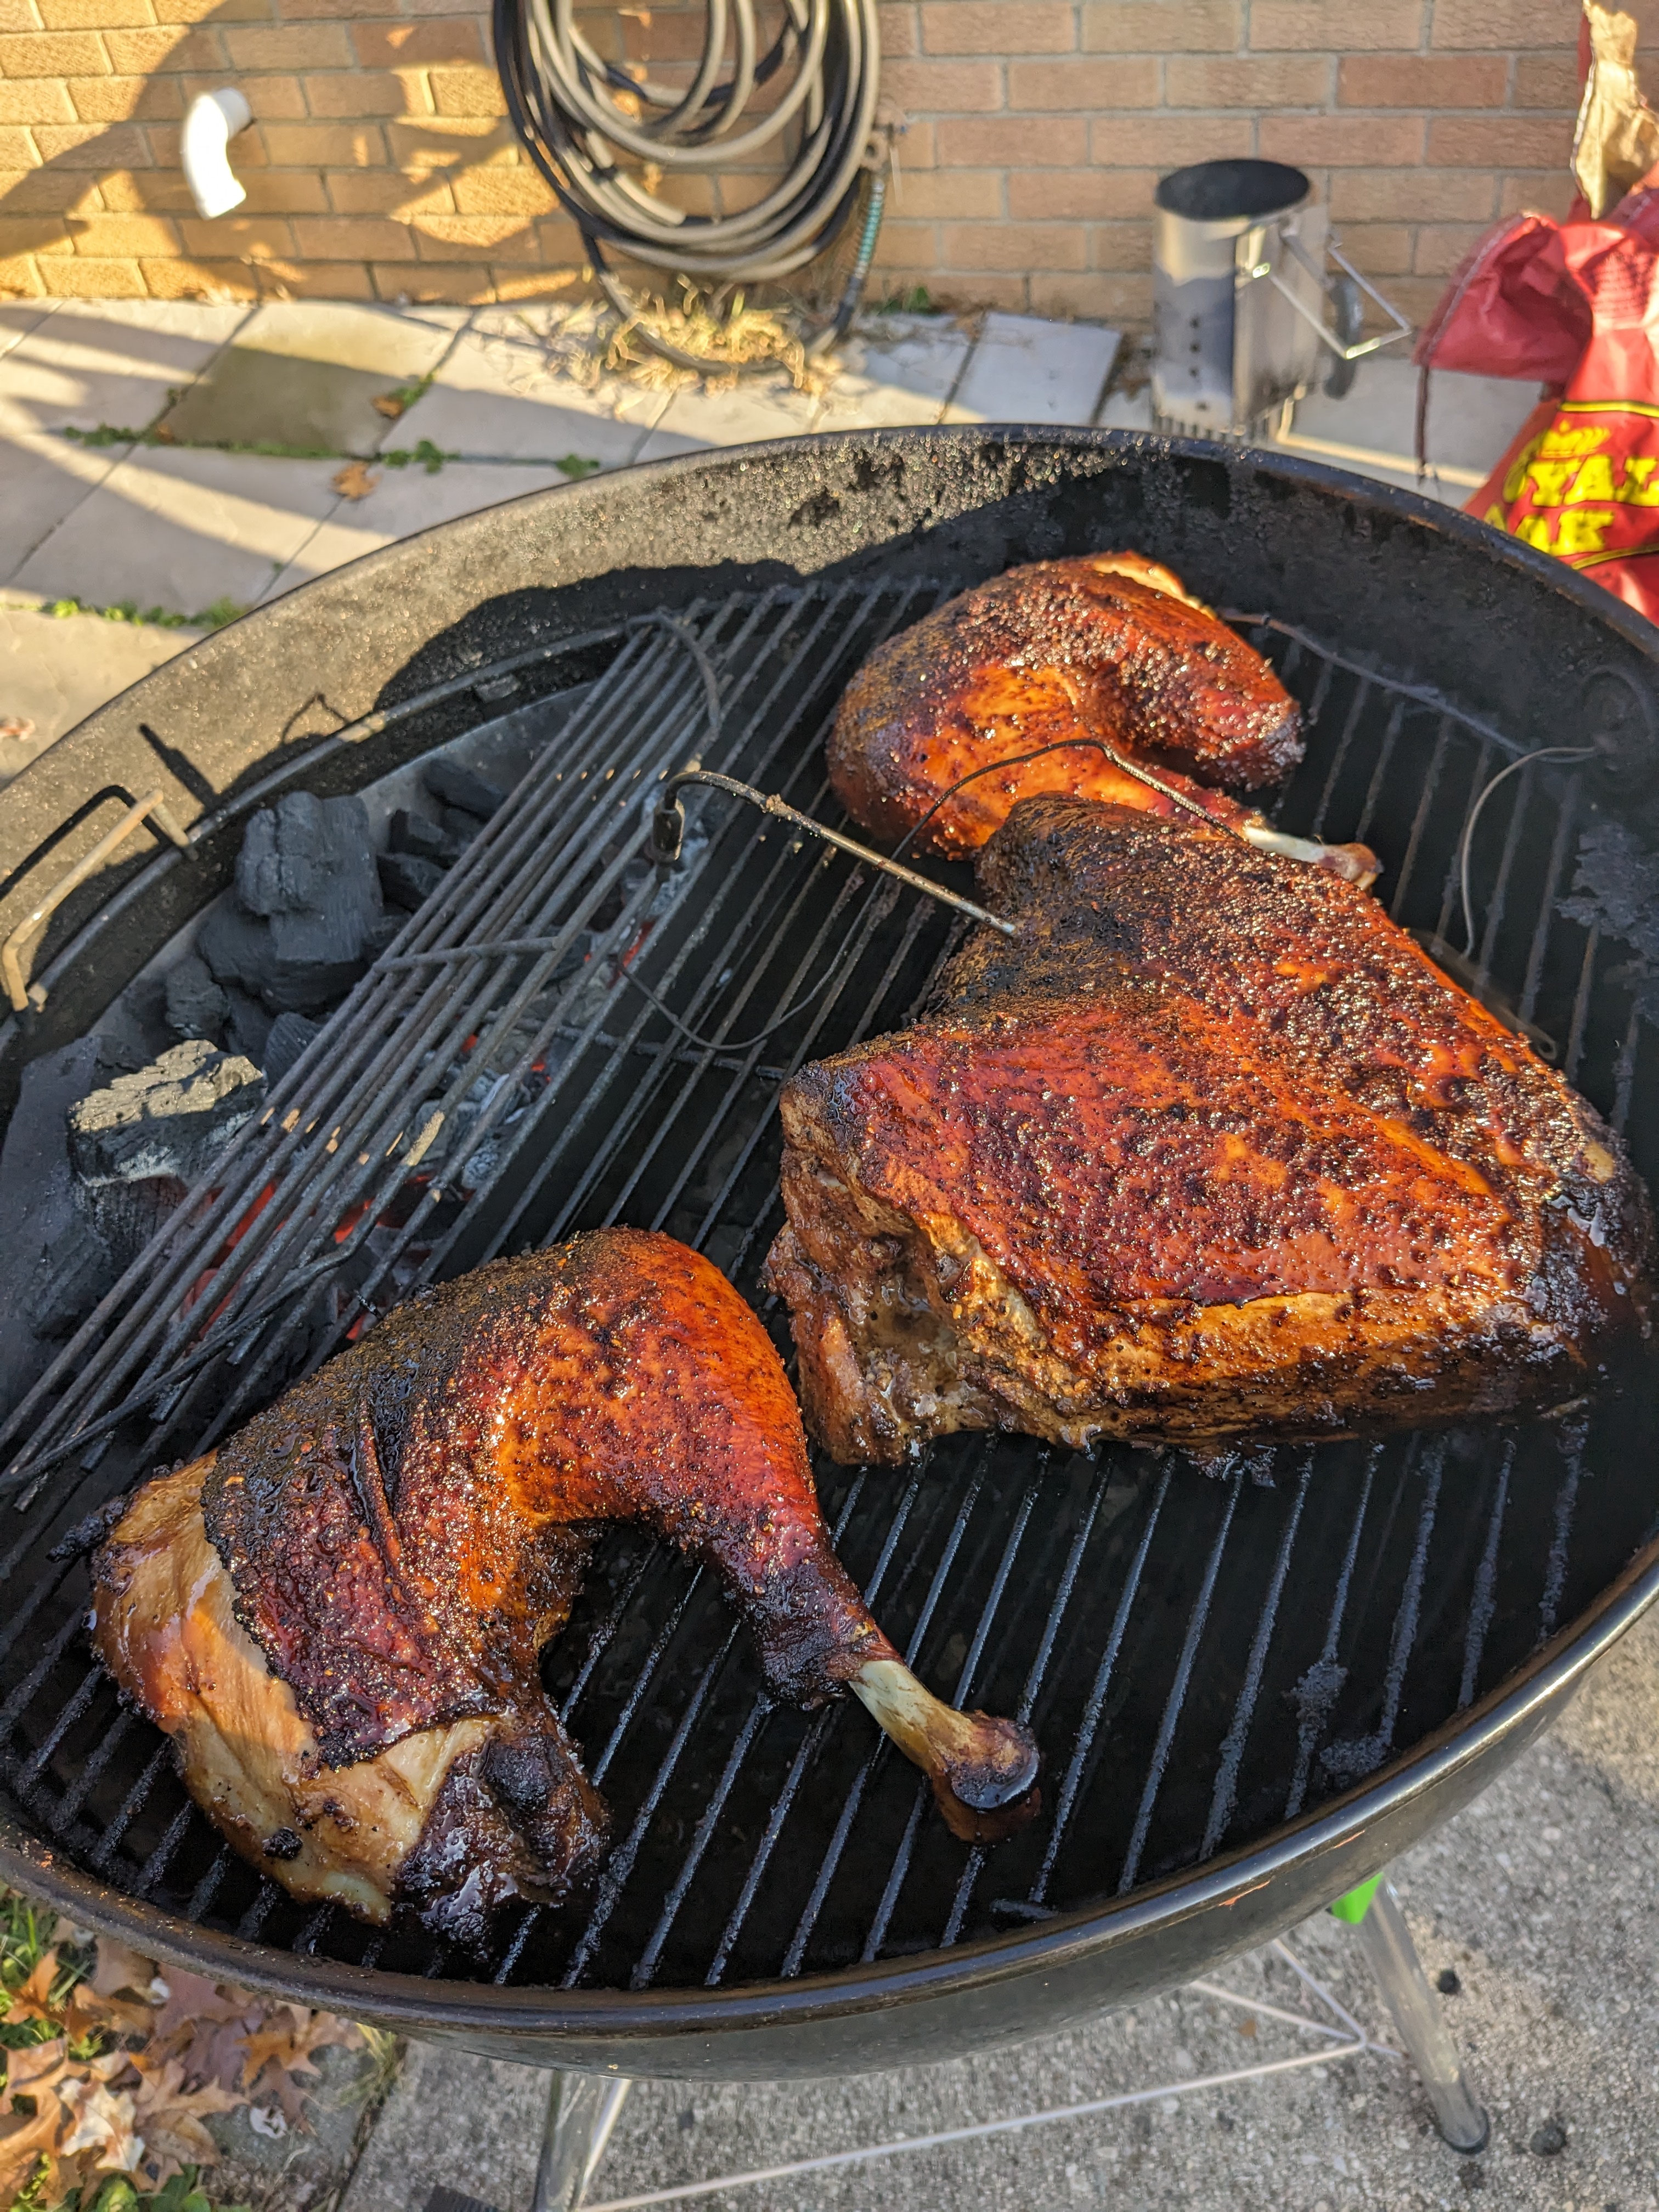
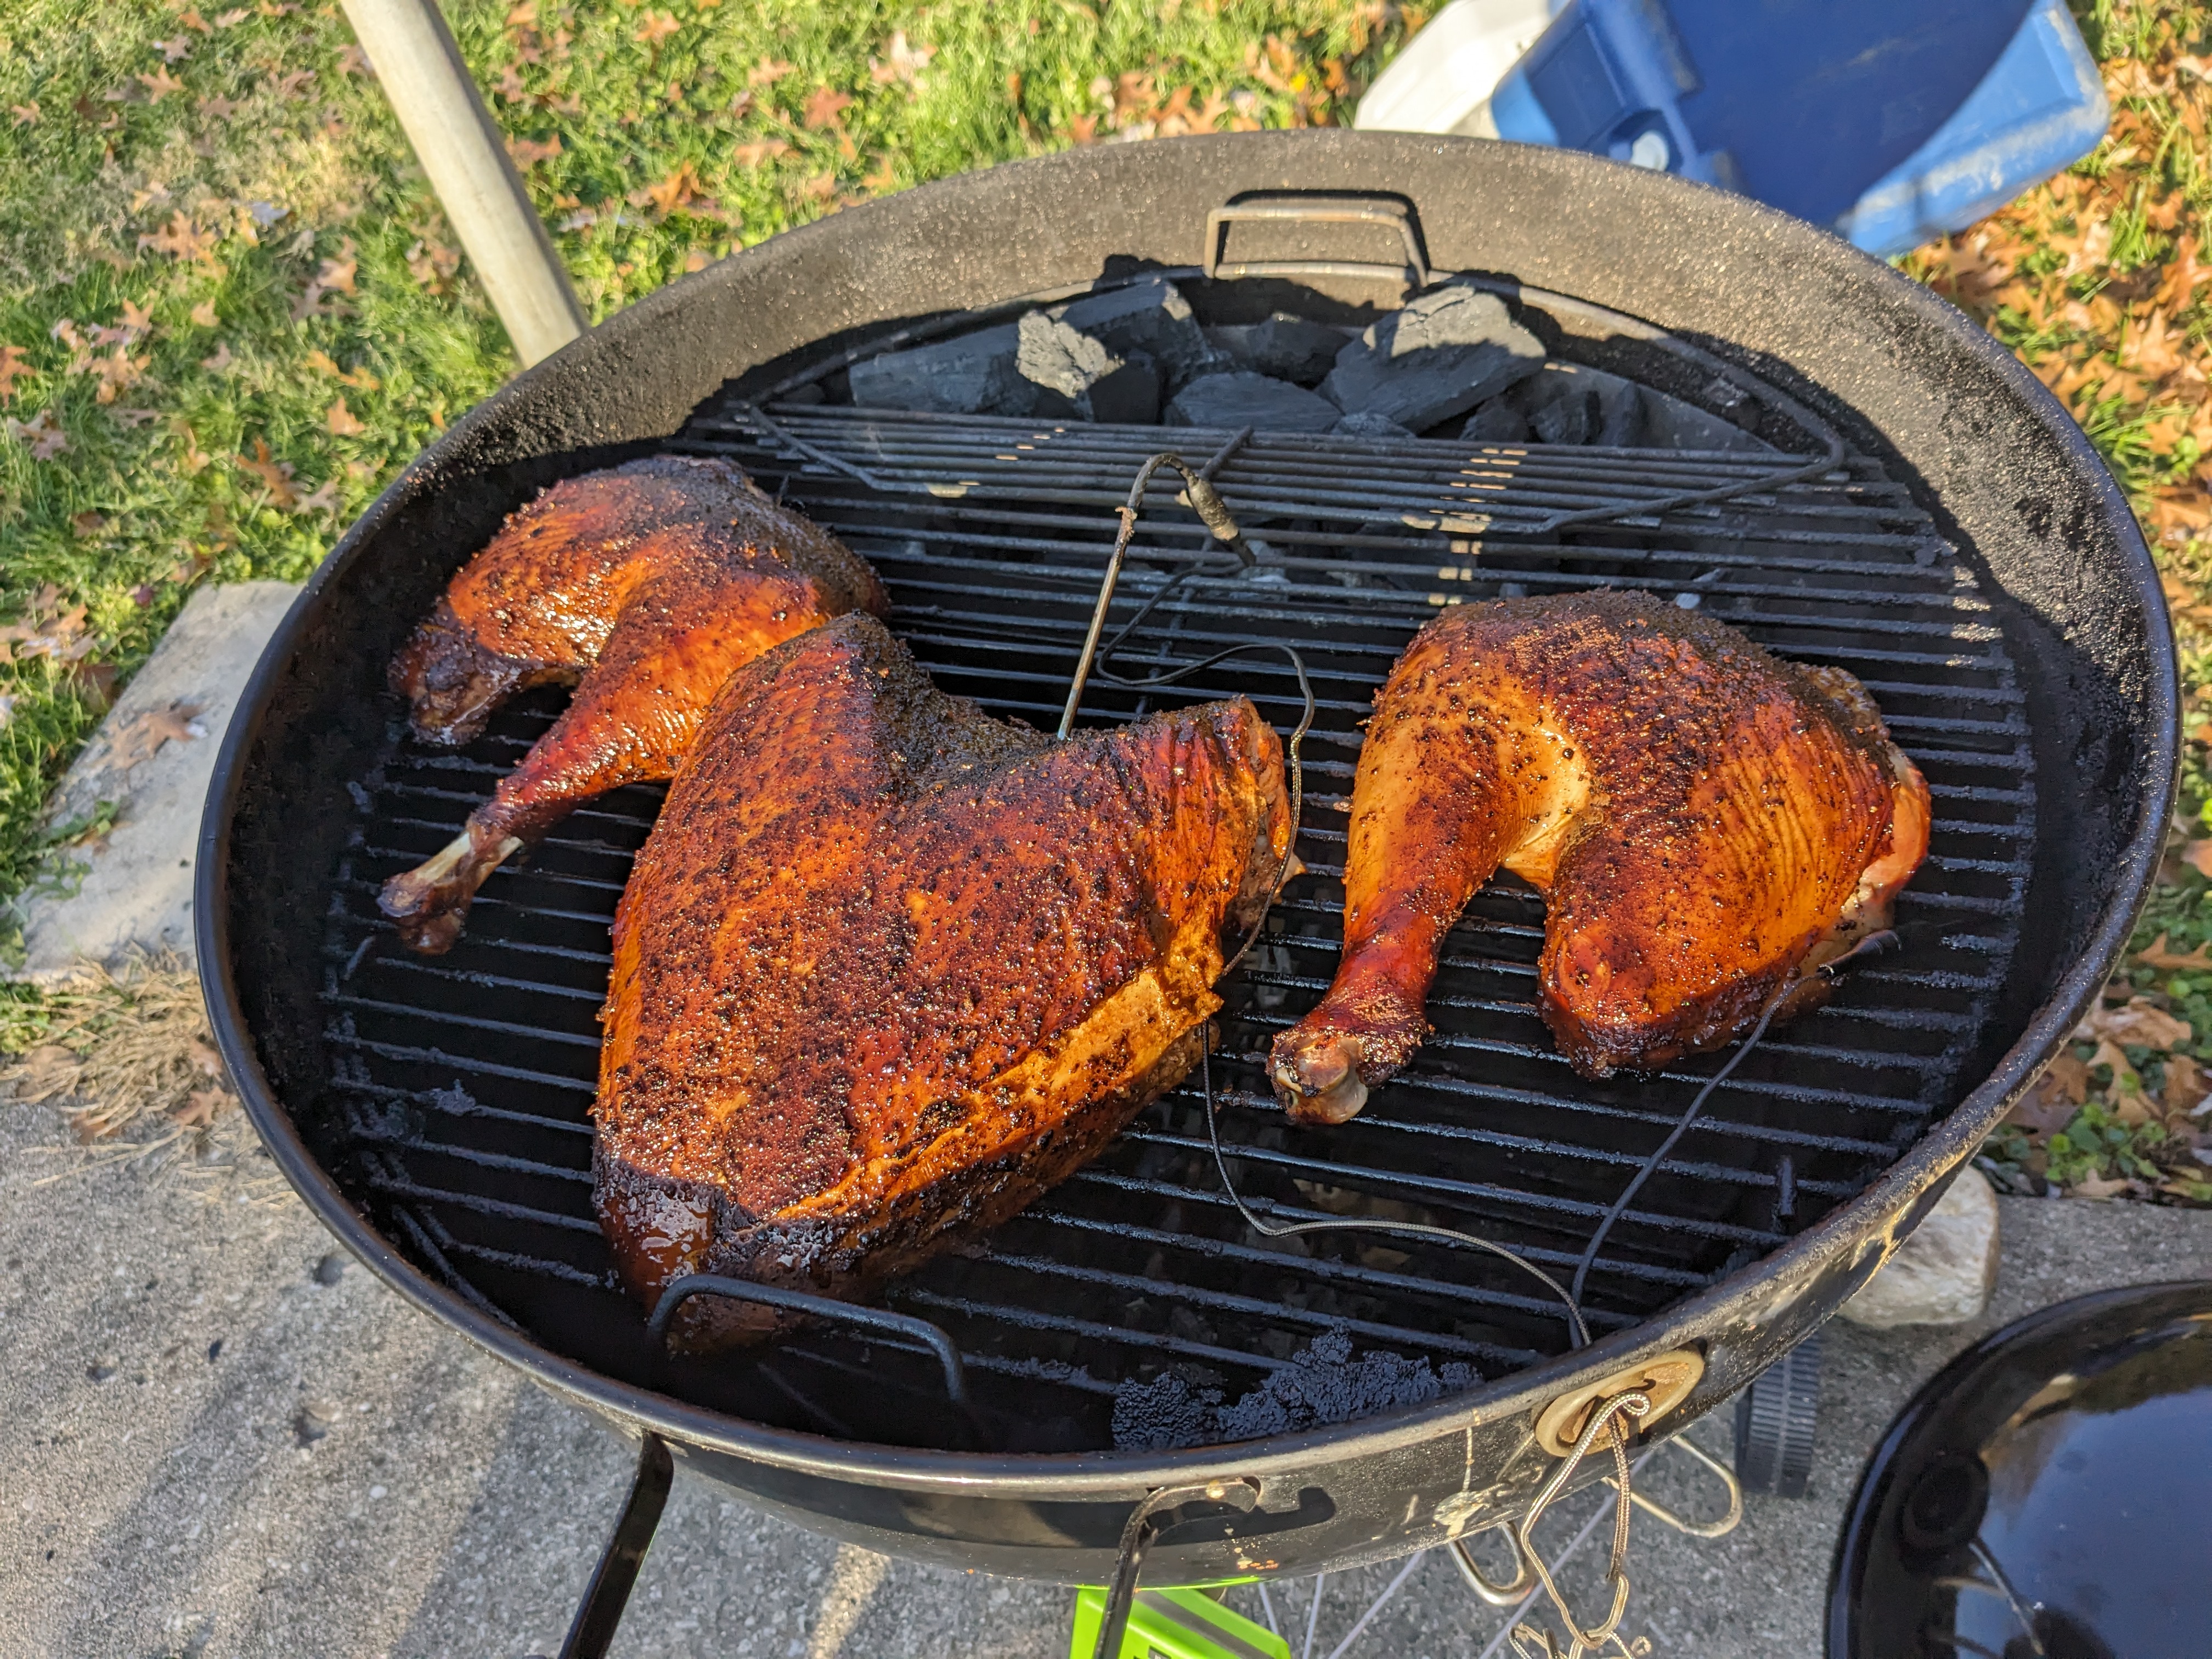
Once the smoke goes from billowy and white to thin and blue, check the temp. Once it’s 360 to 370F put the breast on first with the thickest part towards the fire so the thin part doesn’t dry out. Try to get it as far from the fire as possible while leaving an inch from the edge of the grill for airflow. Position the leg quarters ahead of the breast, closer to the fire so that the thickest parts are the closest. The dark meat is going to act as a heatshield for the light meat which is more prone to drying out. Dark meat is pretty forgiving, and likes to go to higher temps anyway.
Correct:

Incorrect:

At this point you should put your probe into the deepest part of the breast. At this point, take a best guess, but in about 5 to 10 minutes the temperature gradient on the meat should have begun to form so you can find it a bit easier by just sliding the probe in and out.
Once you find that, and you can adjust that as you cook, it’s basically just fire management. Keep the vents managed so that the grill temperature is between about 330-375F and then once the meat is at about 120 degrees start lacquering on thick layers of the glaze. Shake the glaze up well and then mop it on there, I recommend dabbing with a long bristled silicone brush.

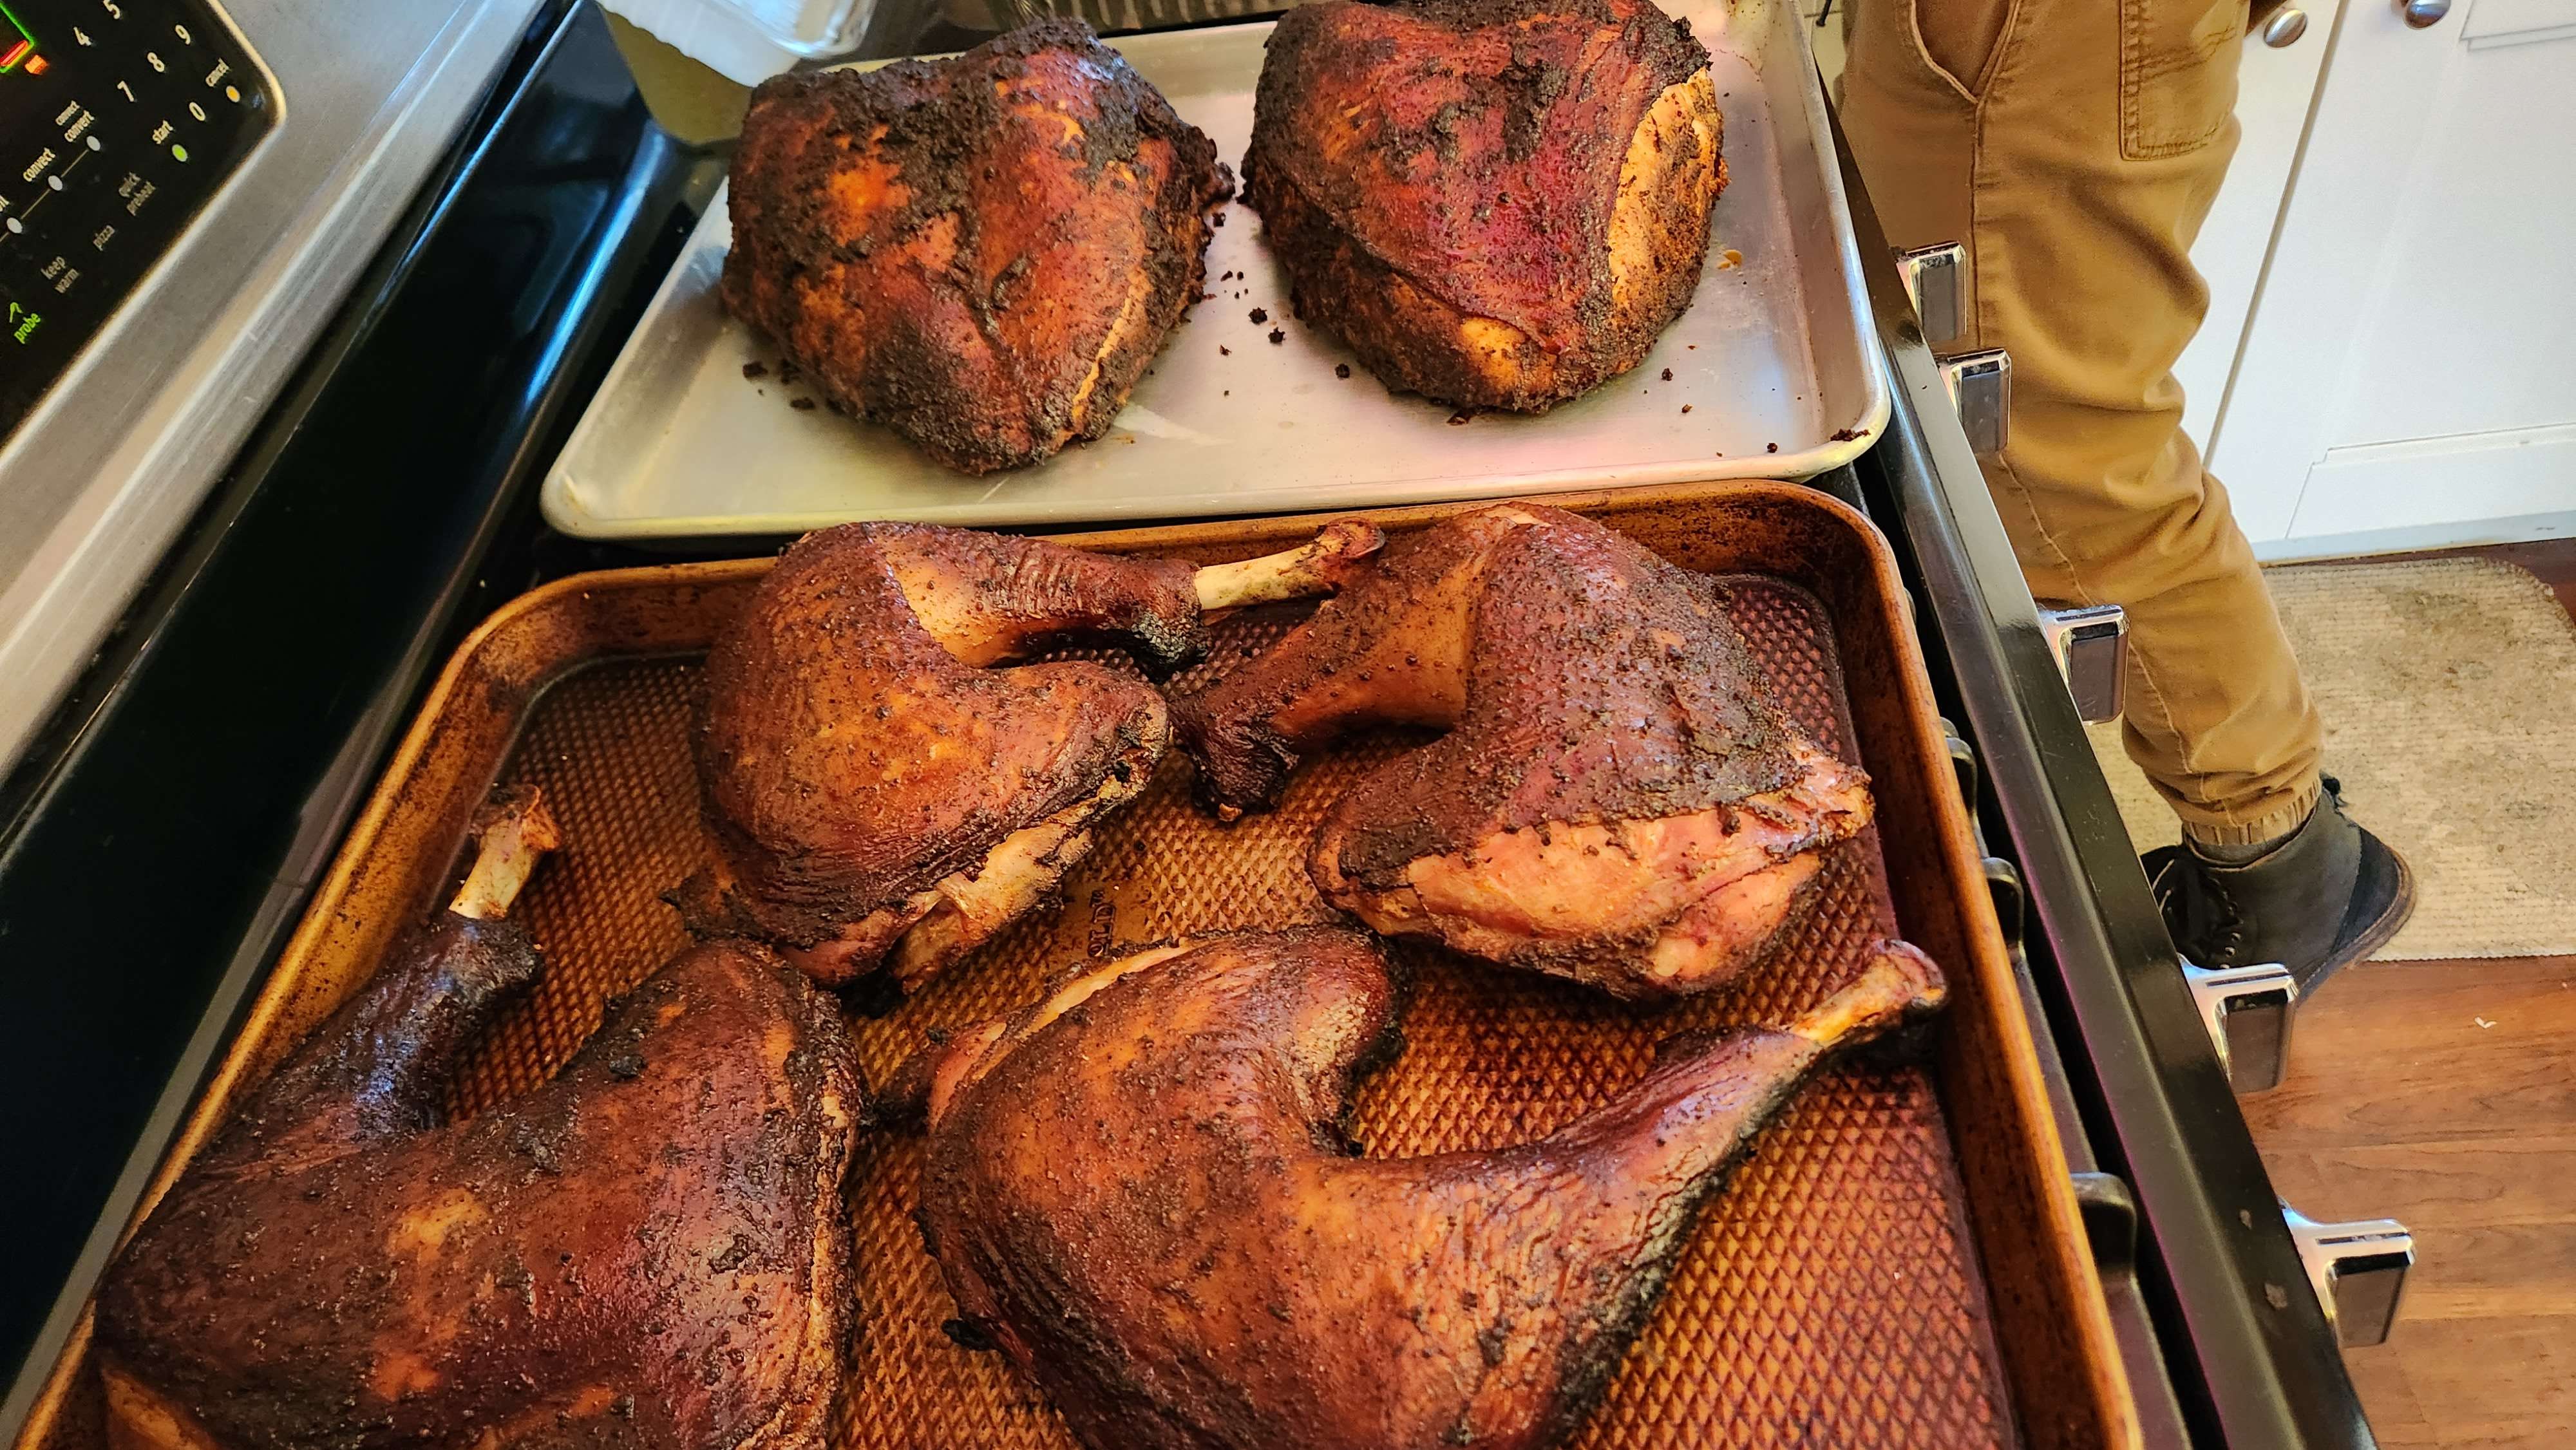
Pull all the meat once the meat thermometer reads 165F. LET REST FOR A MINIMUM OF 45 MINUTES under very loosly tented foil. Cutting into this while it’s too hot will release all that moisture we’ve been saving into the air, making the meat dry. Use this time to make sure the other stuff is ready to go, clean some dishes, set the table. Just let it sit.
You cannot undo slicing the turkey, all you can do is add more gravy. Just wait until…
Yer Done
Slice it up and serve. I like to avoid slicing into a turkey breast until it’s time to eat it so as to keep it from drying out, so gauge your crowd and slice accordingly. There’s a trade-off in convenience vs quality when it comes to slicing the meat before storage. That said, a late night drunken turkey sandwich with presliced meat is choice.
That’s it! I hope explaining the methods helped you understand why I do it this way so you can adapt it to your own cooking situation. And maybe you can heal your weary soul with this, it grew a part of mine back.
-
Crack a beer. ↩︎
